Subkit provides comprehensive lead management that complements our built-in email marketing functionality.
With Subkit, you can effectively manage your leads and subscribers without logging in to multiple platforms. Your Leads are your email contact list. Managing your leads and subscribers effectively is crucial to achieving your email marketing goals for your business. The following explores how you can manage your leads and subscribers on Subkit.
Adding Leads
Adding leads on Subkit is simple. To do this;
- Locate and click the Contacts menu on the left-hand side of your dashboard. This will redirect you to the contacts management page.
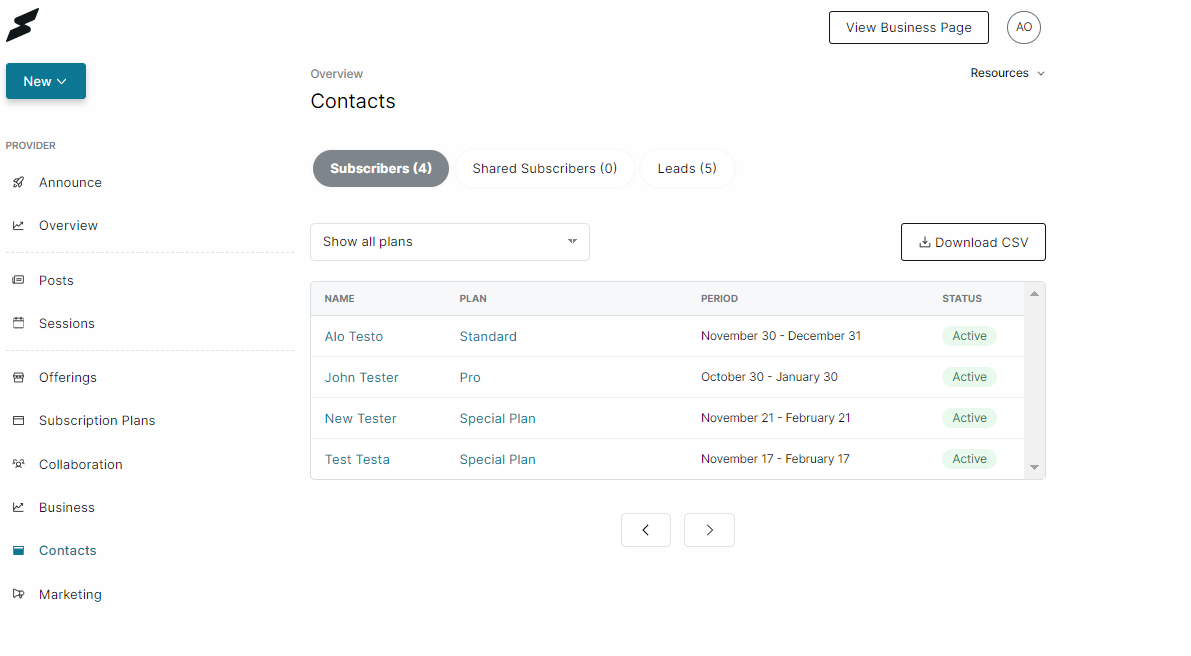
- Navigate to the Leads tab on the right-hand side of the page.
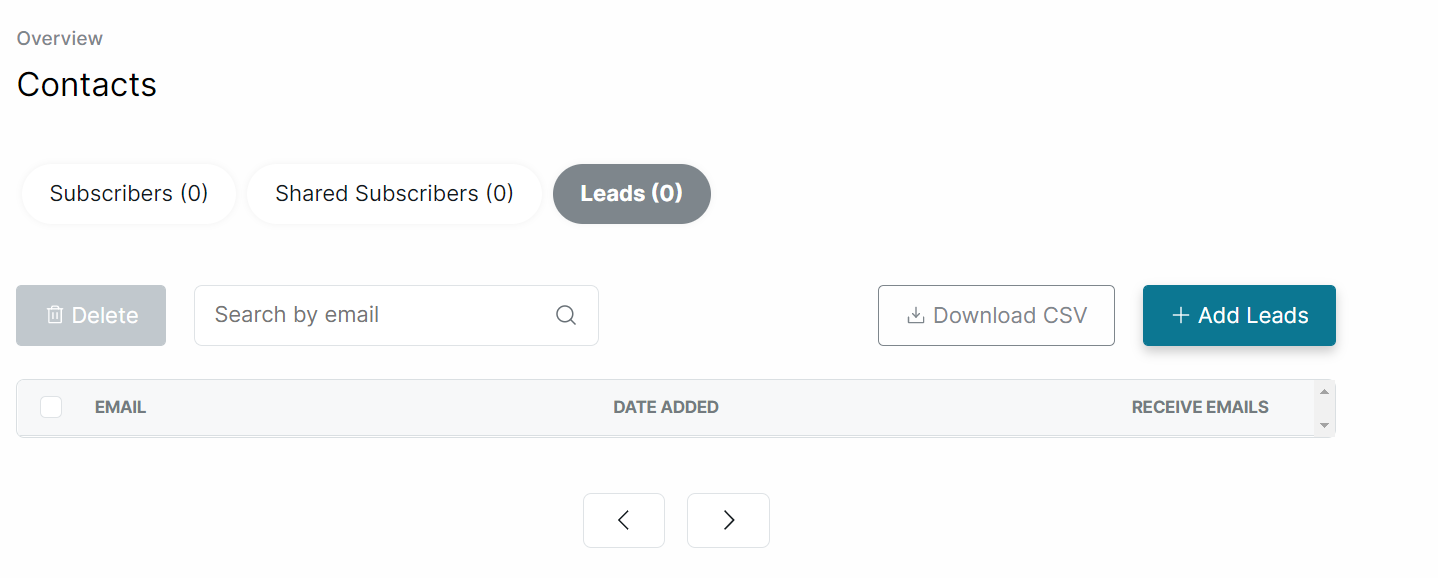
- Locate and click the Add Leads button in the top right section of the Leads tab.
Adding Single Leads
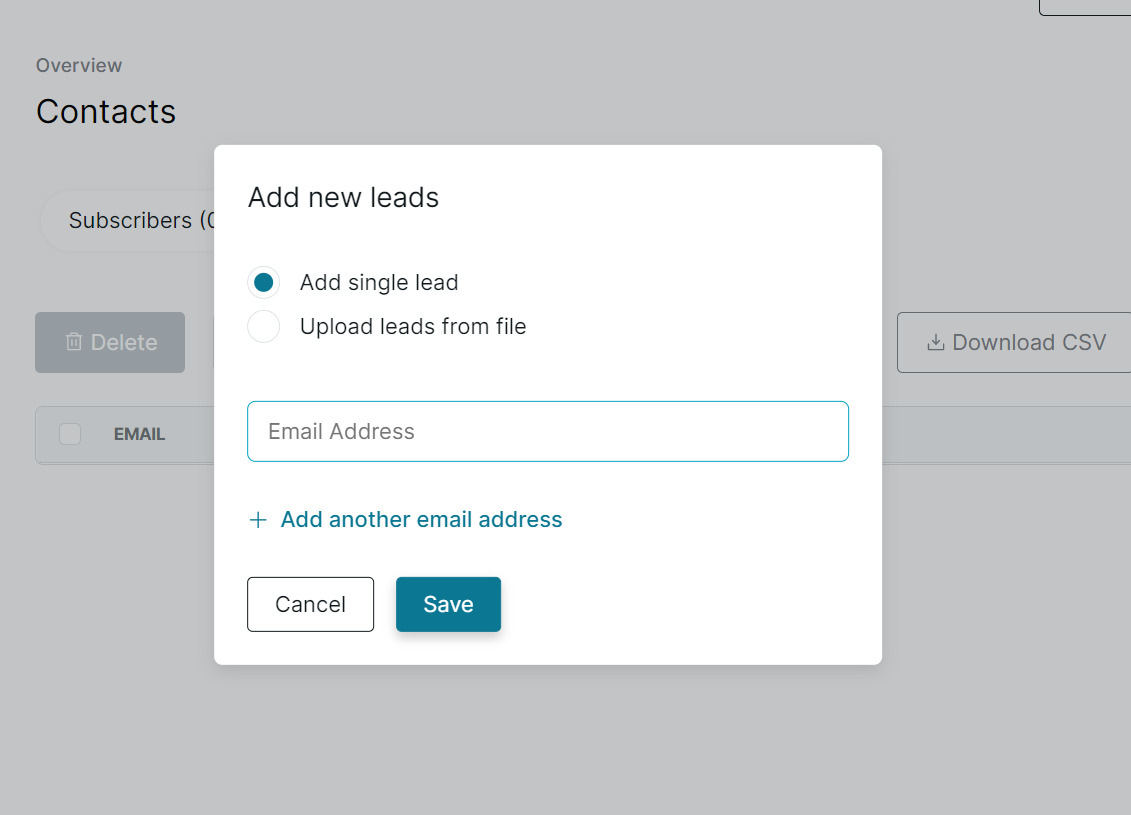
- To add leads one after the other, click the Add single lead button.
- Enter the lead email in the text box provided.
- Click the save button at the end of the prompt to confirm your changes.
Adding Multiple Leads
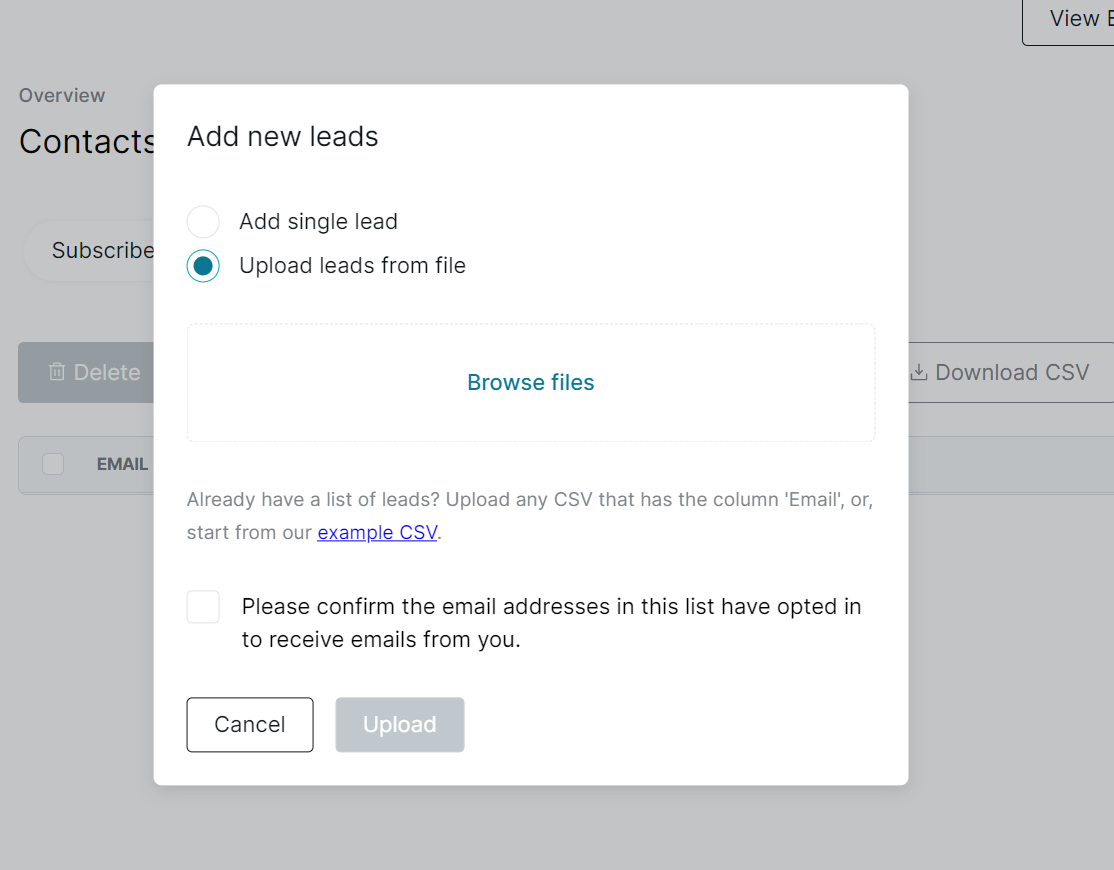
- To add multiple leads at once, click the Upload leads from file button. This requires you to create a CSV file that includes an Email column.
- Click the Browse button to attach your CSV file.
- Tick the box to confirm that the email addresses in this list (file) have opted in to receive emails from you.
- Click the Upload button at the end of the prompt to confirm your changes and add the leads to your Subkit contacts.
Searching for Leads
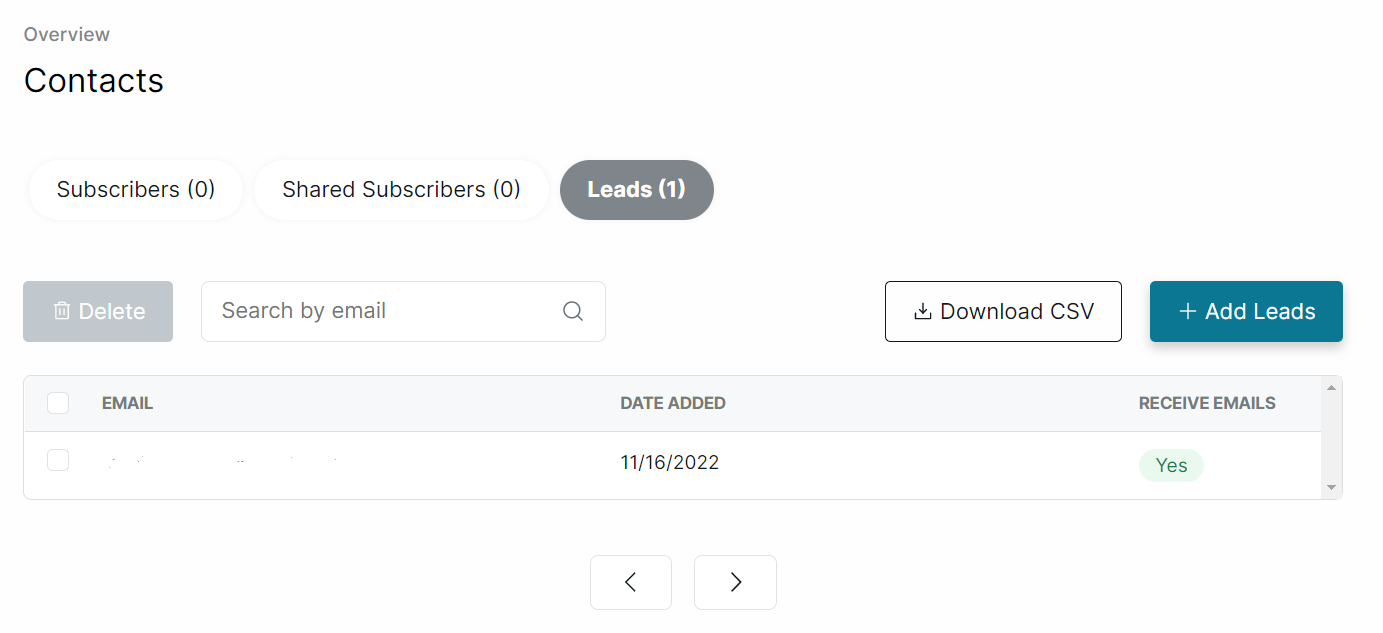
- To search through your existing contacts, navigate to the Leads tab and locate the Search bar.
- Start typing the email you intend to search for. This should present a list of similar emails in your contacts list.
Downloading Leads

- Locate and click the Download CSV button in the top right section of your screen. This will automatically download the file to your system.
Deleting Your Leads
- Tick the Select box next to the Email you intend to delete.
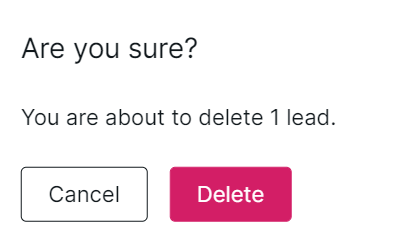
- Locate and click on the Delete button on the top left of your screen. This will present a prompt asking you to confirm.
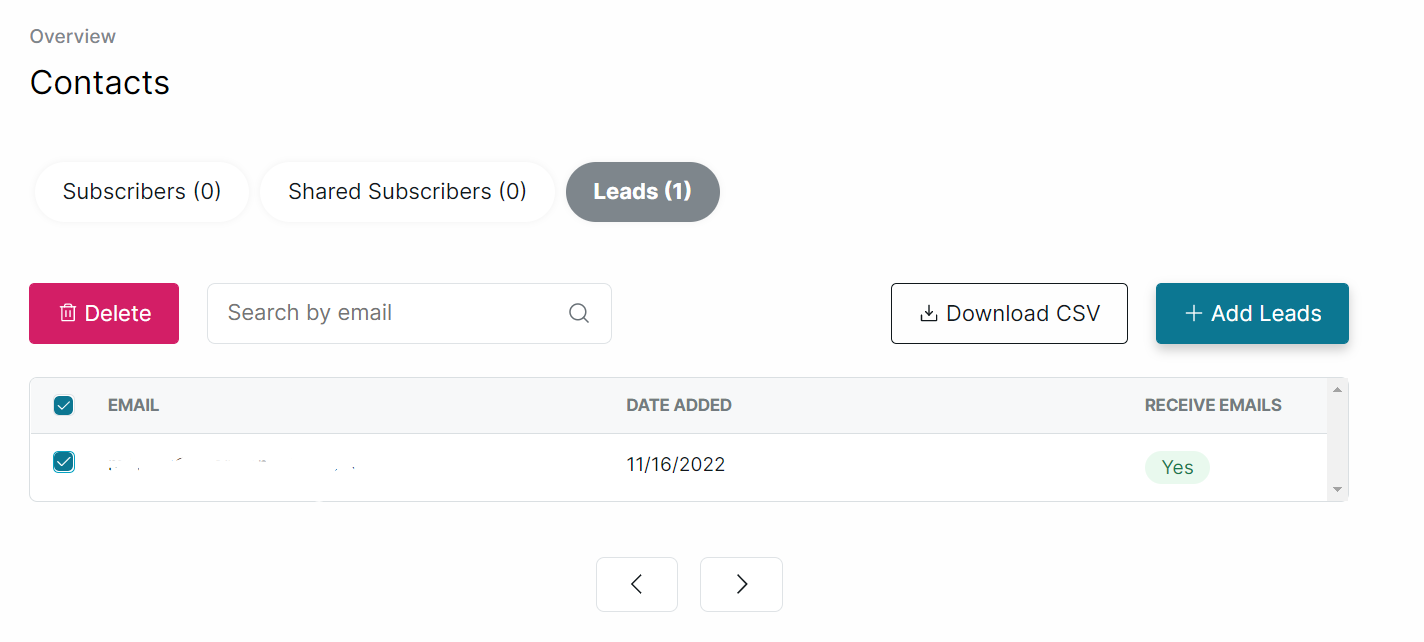
- Click the Delete button on the prompt to confirm.
