Link your bank account to start earning on Subkit.
This is an essential step in setting up your business on Subkit. It allows you to get paid when you launch your business and start getting subscribers. This article highlights how you can seamlessly connect your bank details to your Subkit account.
Locate Business Dashboard
Locate and click Business on the left-hand side of your screen.
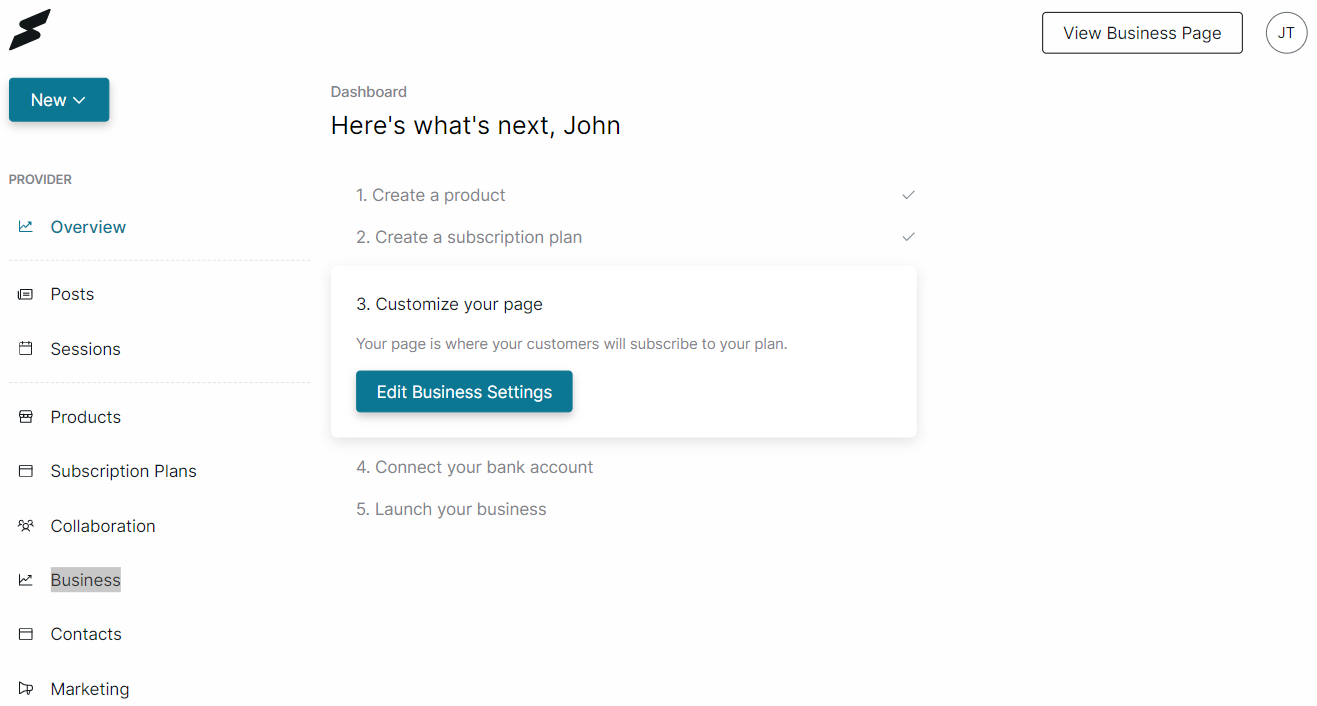
Business Overview
From your My Business overview,
- Click the Banking button at the top of your screen.
- Next, click the Connect your bank account with stripe link below the Status section.

The image above shows Not connected on the Stripe status because the account hasn't been linked yet.
Stripe Payment Configuration
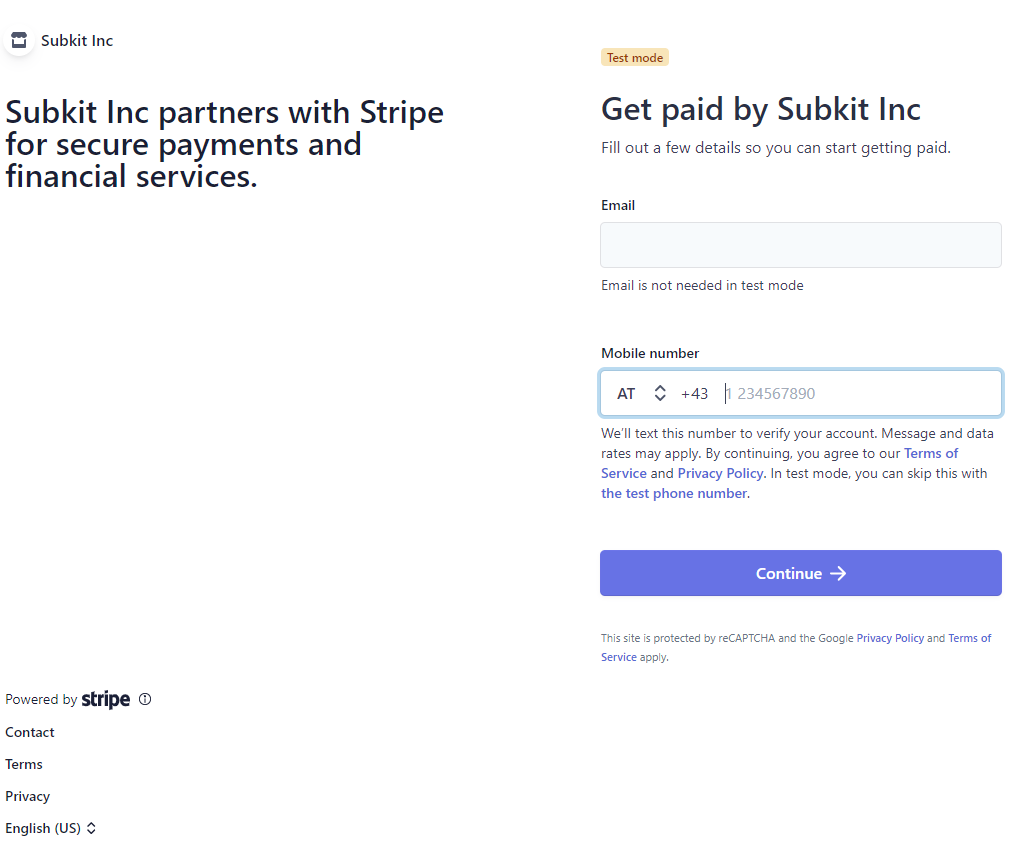
Subkit partners with stripe for seamless payment processing. Once you've clicked the Connect your bank account with stripe link, you should be redirected to a registration form.
- Enter your email and phone number and click the Continue button to proceed.
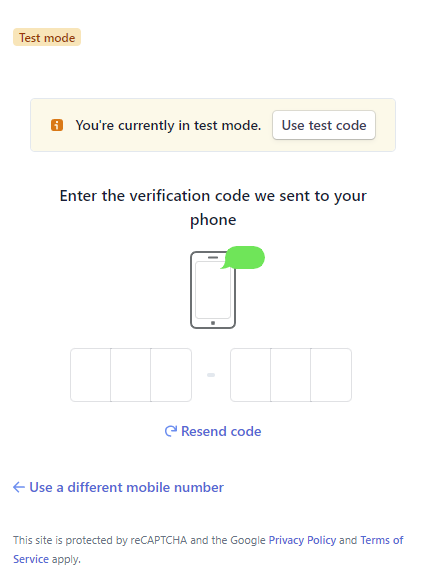
- Enter the verification code sent to your mobile number.
- Click Resend code link if you didn't receive the code or Use a different mobile number to change your phone number.
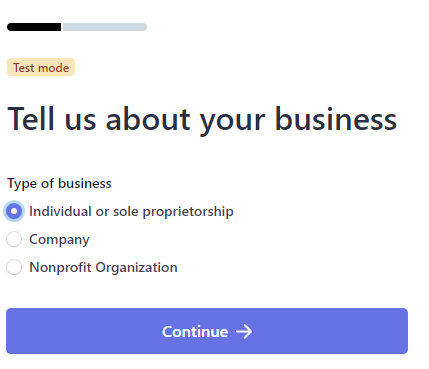
- Select your business category and click Continue.
-
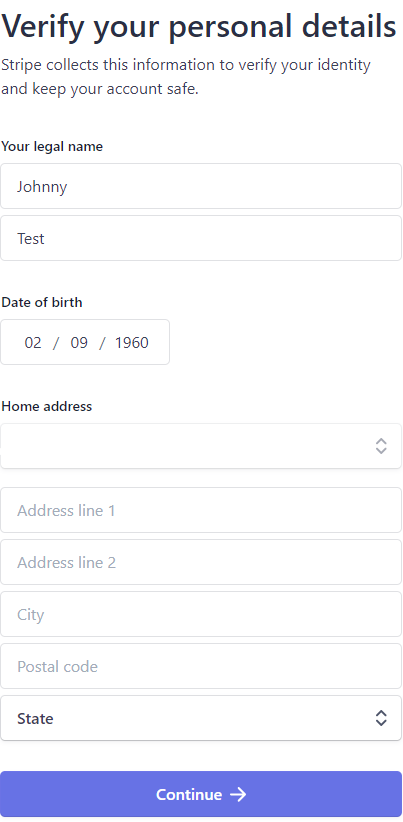
Confirm that the personal details entered are correct and click Continue. If not click on the pen icon on the right-hand side of your screen to edit.
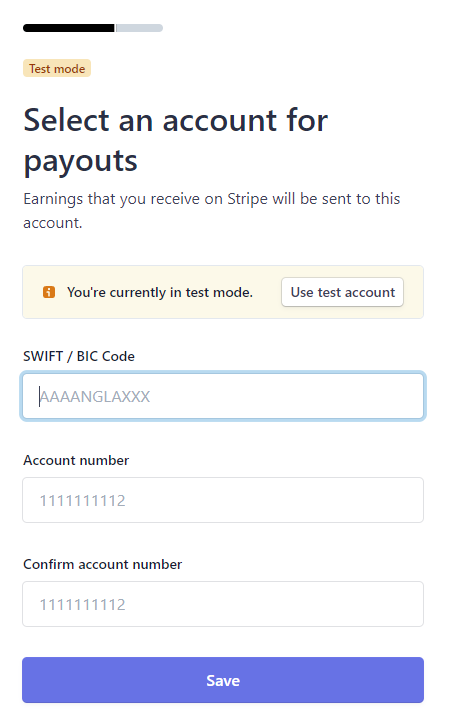
- Fill in your account details for payouts; SWIFT / BIC Code, and account number.
- Click Save at the bottom of your screen to move on to the final step.
- Review your details, and ensure that your name, address, and banking information are accurate.
- Click Submit to complete.
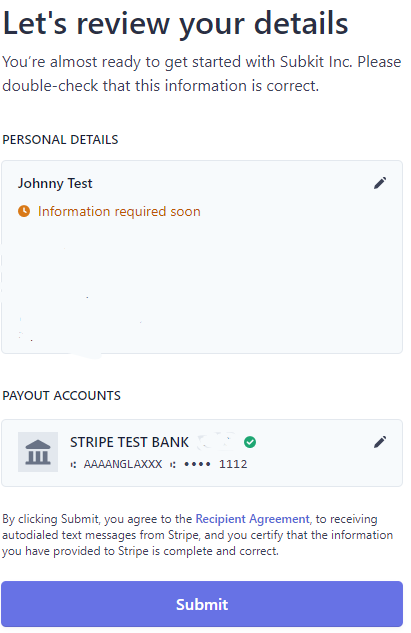
Note: By clicking Submit, you agree to the recipient agreement, and you certify that the information you have provided to Stripe is accurate. Click the Recipient Agreement link if you need to see Stripe recipient info.
Status
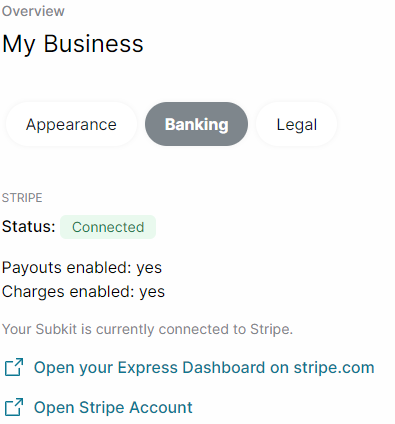
After completing the setup process, it will redirect you to your business overview page. Your Stripe status would have automatically updated to Connected.
Next Step: Adding Subscription Plans
