Here's how you can build out your subscription plans with ease on Subkit.
Subscription plans are crucial for helping you make the most from your business on Subkit. Building out these plans will ultimately help you outline your key offerings and help customers understand the value that you provide at different price tiers. Creating subscription plans on Subkit is straightforward and can be done via the following steps.
1. Add New or Edit Draft Plan
If you're just setting up your Subkit profile, you'll find that there are draft subscription plans to get you started and an option to create a new plan from scratch.
To create a new plan, navigate to the left-hand side of your dashboard and click the Subscription Plans menu.
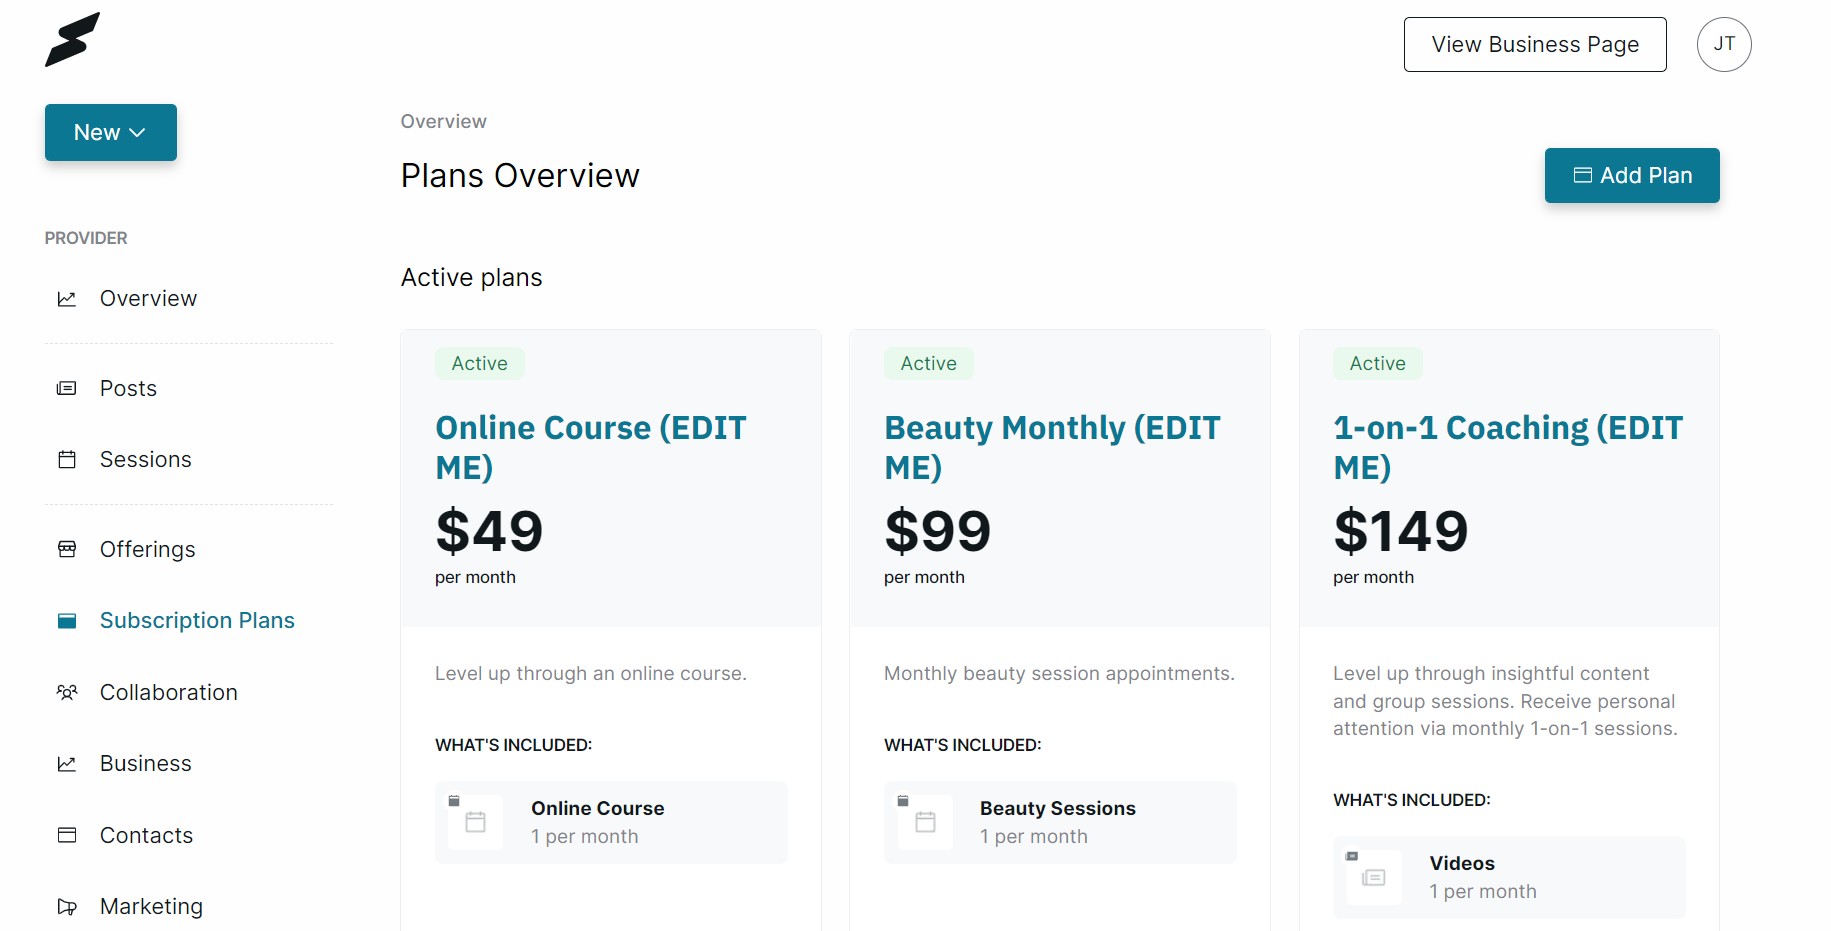
Click the Add Plan button to start creating a new plan.
To edit a Draft, scroll to the bottom of the existing plan and click the edit icon.

2. Enter Plan Name
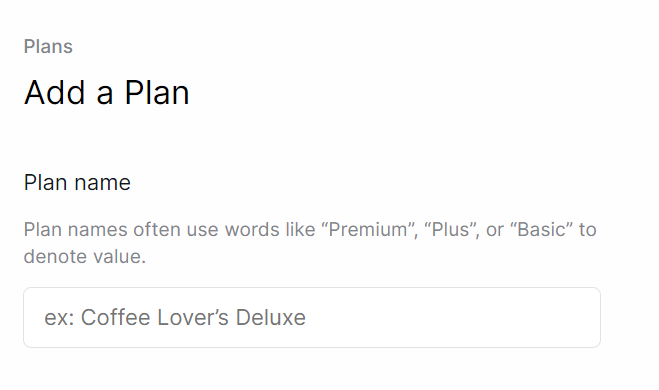
Enter your plan name or update an existing name in the relevant field
3. Describe Plan
You'll need to enter a plan description to help potential users or subscribers fully understand the value that your plans offer. To update your plan description,
- Navigate to the Description section just under your plan name and click the text box to start writing.

4. Include Offering
Adding offerings to your subscription plans is essential for showing potential subscribers what's included in your plans. When adding offerings to a subscription plan, you can either use templates to create a new offering or use existing offerings on your Subkit account.
The process of adding content and sessions to a plan is the same but adding physical products is a bit different.
Check out How to Add Products to your Subkit Profile
Adding Content and Sessions
To add Content and Session offerings to your subscription plans,
- Navigate to the Offering section.
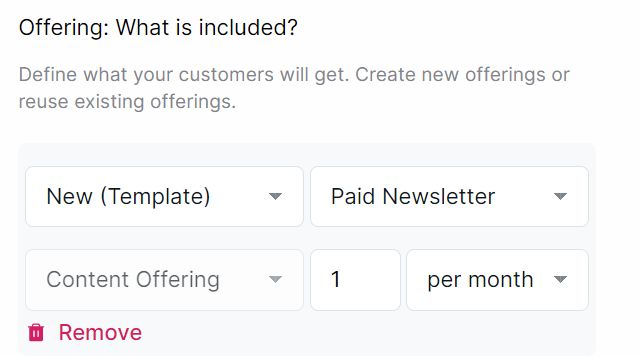
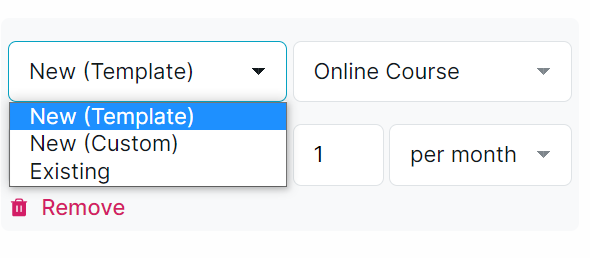
- Select New (Template) to create a new offering based on pre-defined templates on Subkit.
- Select New (Custom) to create a new offering from scratch.
- Select Existing if you intend to use any of the existing offerings in your Subkit account.
Read these articles on how to create physical products, content and session.
- Select the offerings that you'd like to include in your plan. If the offering is a session or content, the process is the same.
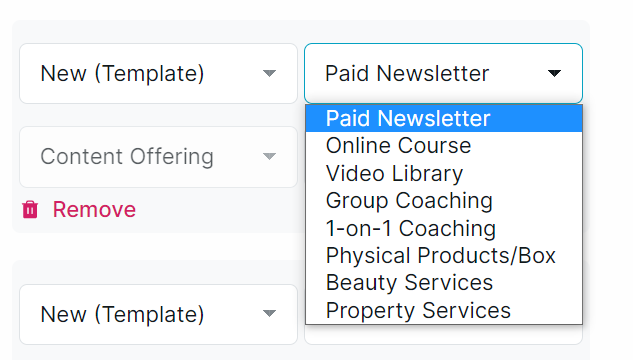
- Enter the specific quantity per month or per quarter.
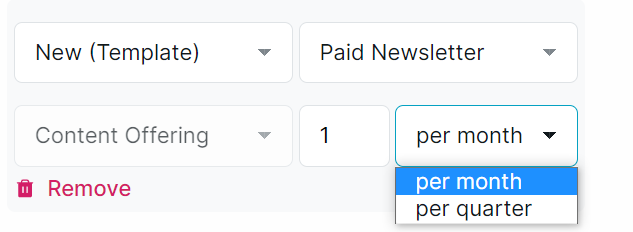
- The Add offering option allows you to include more offerings to the subscription plan.
- Click the Add offering button and follow the previous instructions.

- Click the Remove button to delete.

Adding Physical Products
To include Physical Products in your subscription plan;
- Select New (Template) to create a new physical product based on pre-defined templates on Subkit.
- Select New (Custom) to create a new physical product offering from scratch.
- Select Existing if you intend to use any of the existing offerings in your Subkit account.

Read these articles on how to create physical products, content and session.
-
Select the physical product you want to include in this plan.
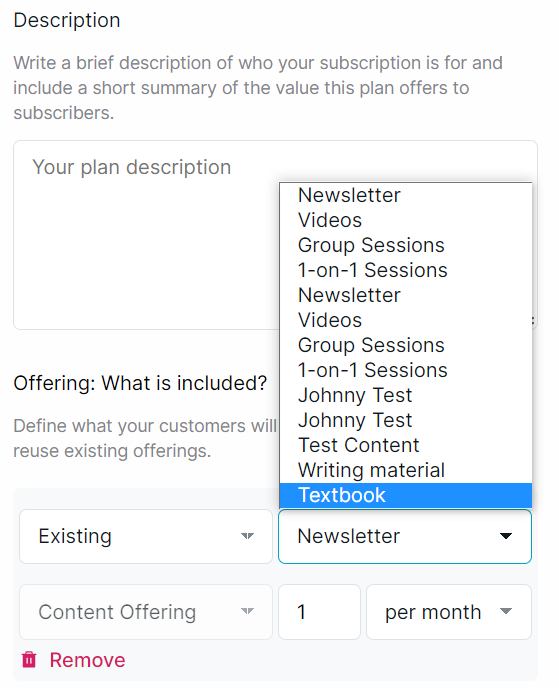
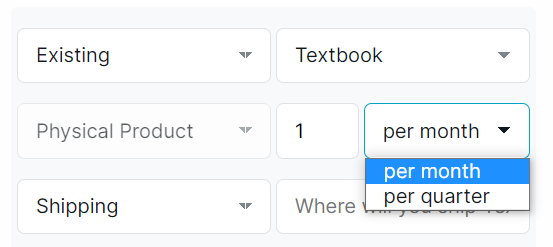
- Enter the specific quantity per month or per quarter.
- Select a preferred shipping method.
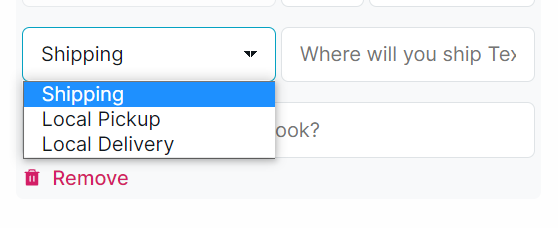
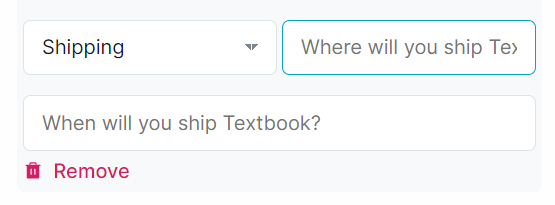
- Enter the shipping address and the date that you'd like to ship the product.
6. Adjust the Waitlist
You can activate or deactivate a waitlist for your subscription plans by navigating to the Waitlist section at the bottom of the page.

7. Billing Cycle & Pricing
Just beneath the waitlist section, you'll find the section that allows you to adjust your billing cycle and pricing. You can set the billing cycle to either monthly or quarterly. To adjust this;
- Navigate to the section that asks "How often do you want to bill your subscribers?" and tick your preferred option.
- Navigate to the section that asks "What do you want to charge for this subscription plan?" and enter your price for this plan.
 8. Free Trial
If you choose to, you may allow subscribers to access sessions and content of this plan for free for a certain period of time. To do this;
Navigate to the Free Trial section and tick the box that says "Yes, I want to provide a free trial" to turn this feature on.

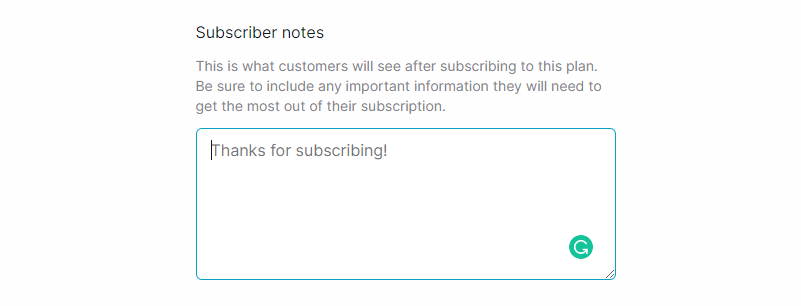
9. Subscriber Notes
This refers to what your subscribers see after signing up for the plan. Subscriber Notes can help you further customize your subscribers' experience. They can also help you provide any plan-specific information that can help your subscribers get instant value for their investment.
11. Save as Draft / Activate
Click the Save as draft button at the end of the page to save it as a draft and the Activate button to confirm all your changes and create or update a subscription plan.


