Getting started on Subkit requires setting up a few accounts and profiles to allow you to launch your business.
The following provides a summary of all the steps you'll need and links to the relevant guides to help you launch your business on Subkit.
Step 1: Setting up your Business Profile
To get started, Set up your business profile on Subkit.
How to set up your Business profile
Step 2: Create Products
Next, add a product to your business on Subkit.
How to add Products to your Business on SubkitStep 3: Edit Business Details
Then edit your business details.
How can I edit my Business Details?Step 4: Connect your bank account
After that link your bank details to your Subkit account.
Connecting Your Bank Account on Subkit
Step 5: Add subscription plans
Edit your subscription plans on Subkit
How to create a Subscription Plan on SubkitStep 6: Launch Your Business
This is the final stage of launching your business. Ensure you have completed all the steps above before proceeding.
Overview Dashboard
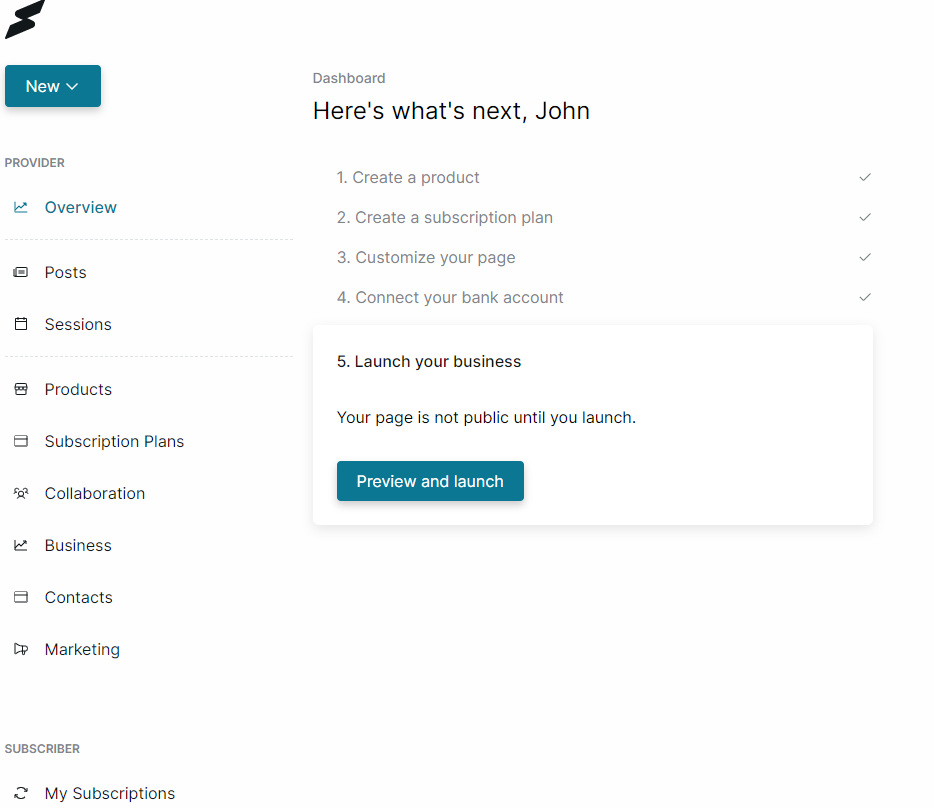
Your Overview dashboard should look like the image below if you followed the steps accordingly. If not you will have to go back to previous instructions to see where you might have missed.
Preview and Launch
- From your Overview dashboard, click the Preview and Launch button to proceed.
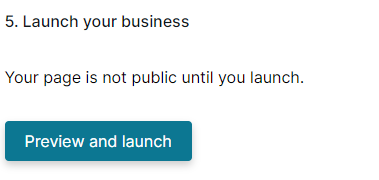
Note: Your page will not go public until you click the launch button.
Preview
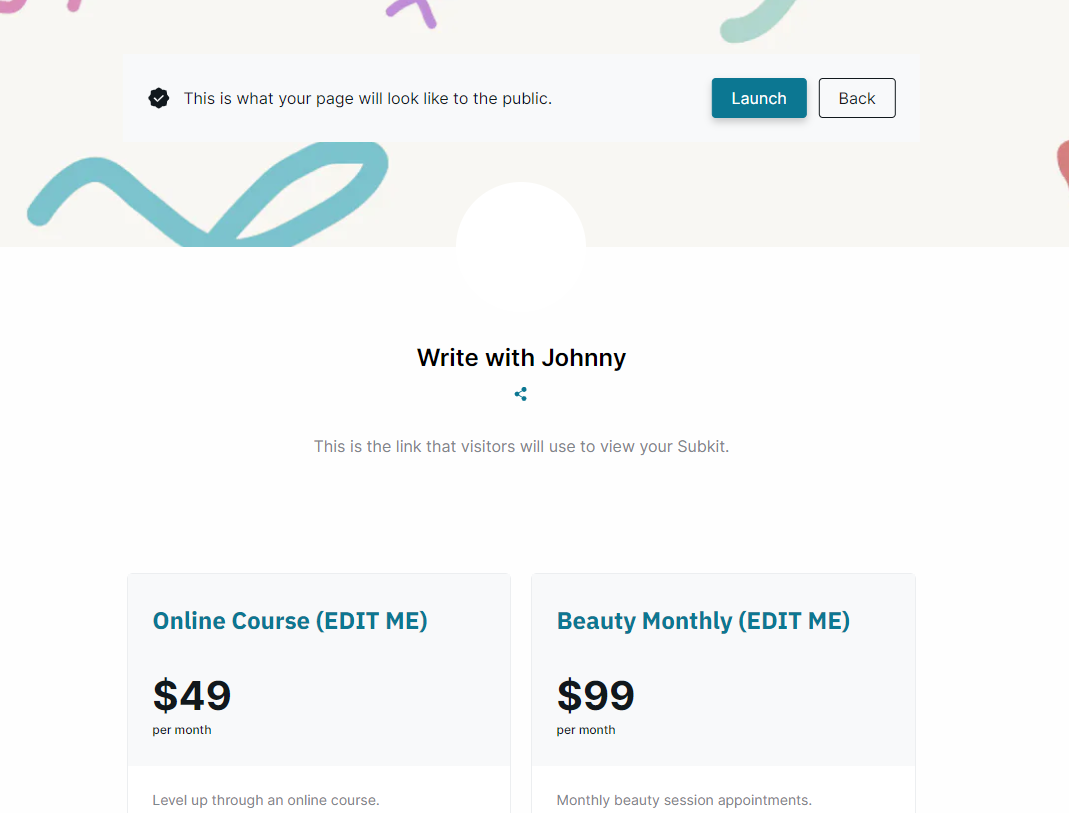
Next, a preview of what your page will look like to your subscribers is displayed.
- Click the Launch button in the top right section of your screen to proceed.
Launch
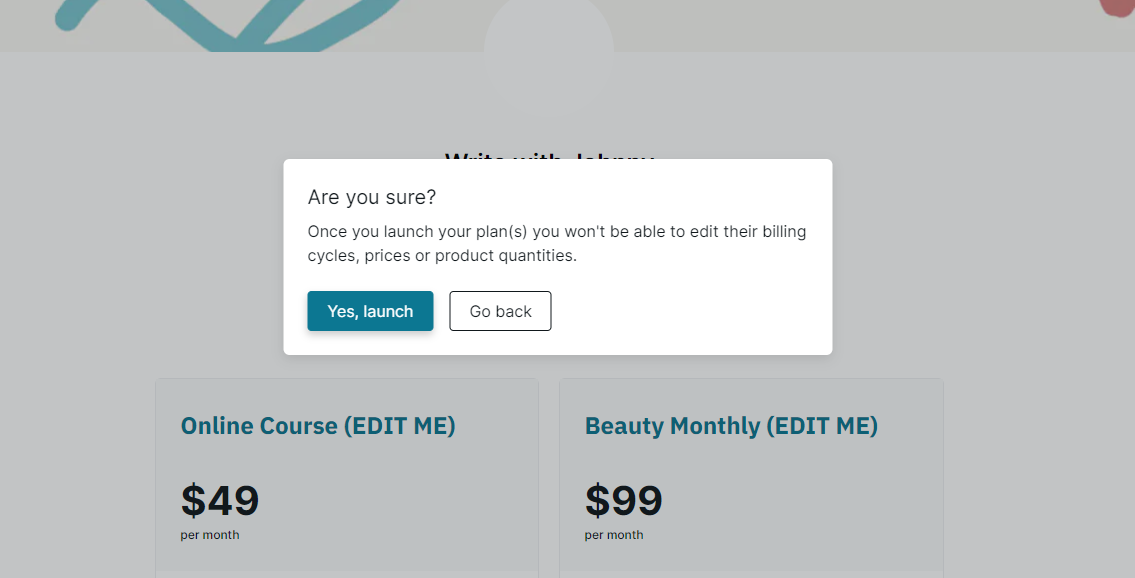
After clicking the Launch button, a confirmation menu will pop up asking you to Yes, launch, or Go back.
- Click the Yes, launch button to complete.
Go to your Dashboard
Congratulations, your business is now live. Click Go to your dashboard to return to your Overview dashboard.
